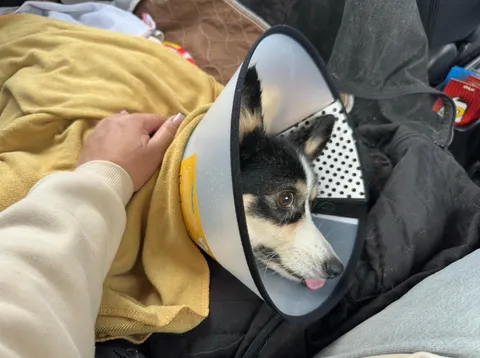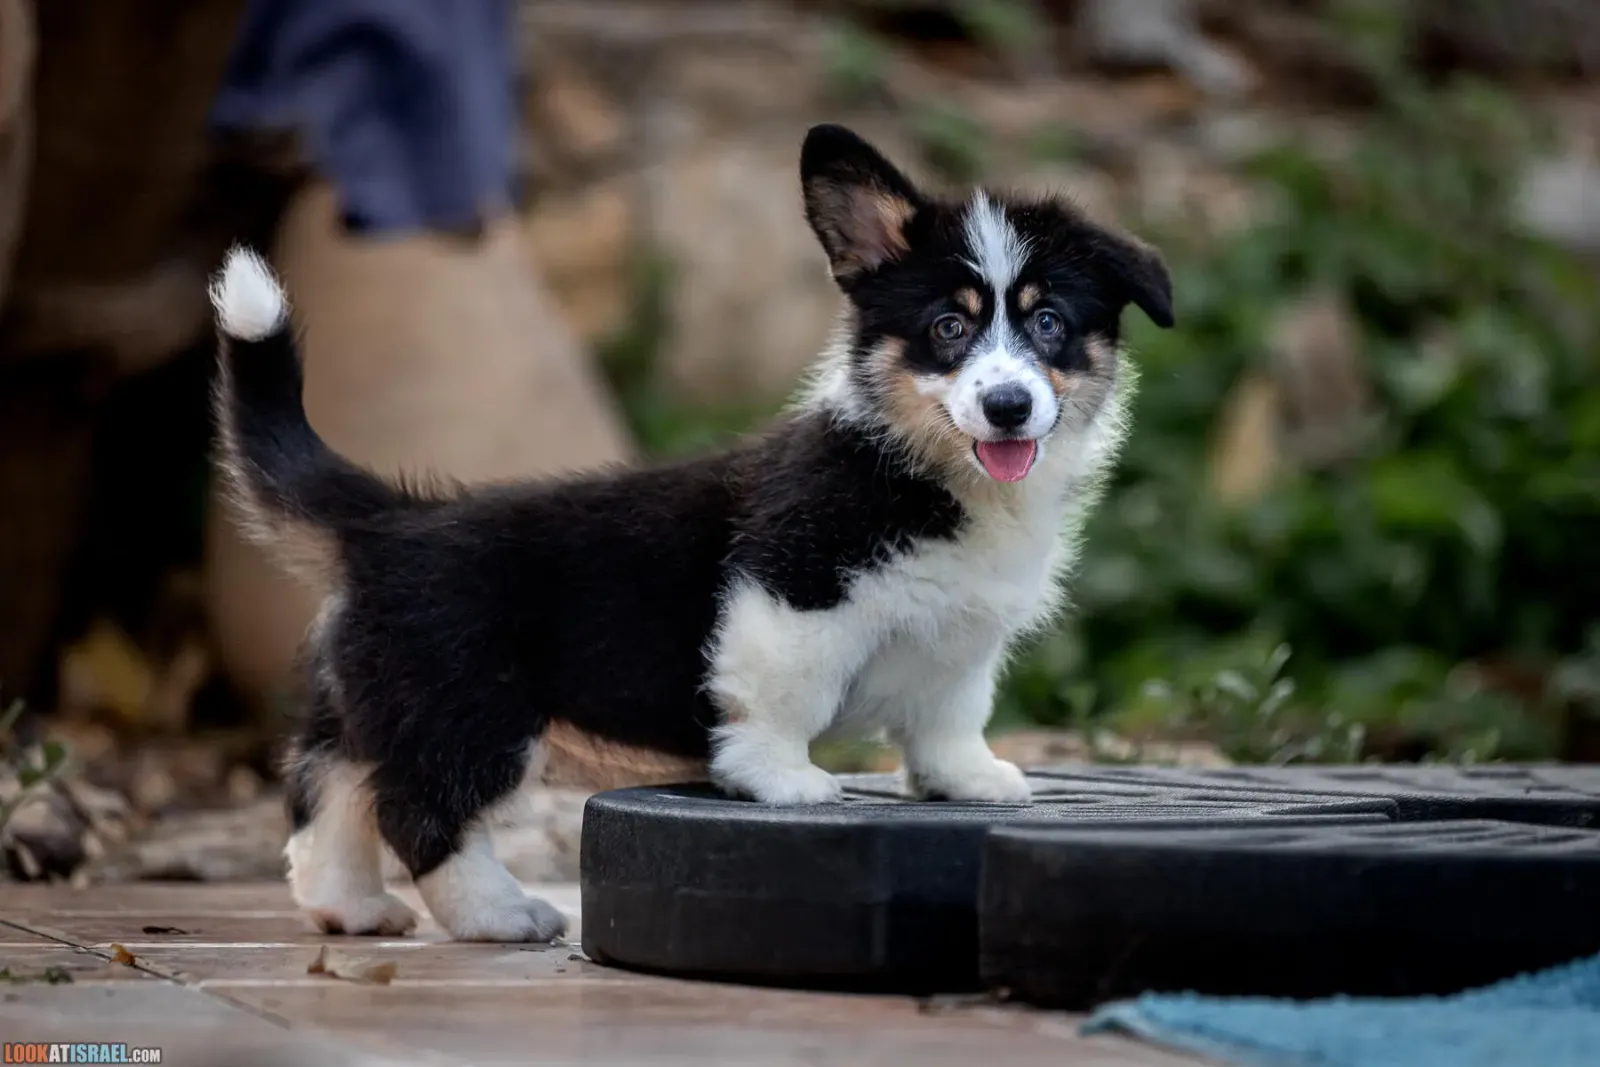
Pricked ears are one of the most recognizable features of a corgi. But a small puppy doesn’t necessarily look like the adult dogs you see in photos right away: one ear may be up while the other is down, both may go up and then flop again, and sometimes a puppy will spend a few days walking around with a completely comical “antenna” on top of their head.
When should the ears go up? Do they need help? And if they do — how can you tape them safely?
Why a corgi puppy’s ears may not be standing
A puppy’s ear pinna grows along with them. When the ear will take on a stable upright position is influenced by its size and shape, the density of the cartilage, the thickness and weight of the ear itself, the puppy’s individual characteristics, and their growth rate.
So you’ll almost never see two identical corgis in this regard.
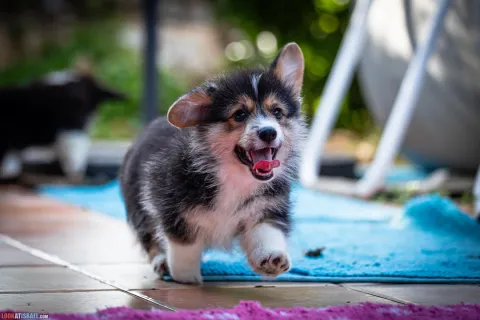
In one puppy both ears are up very early. In another, one ear goes up first. In a third, the ears periodically stand and then flop again.

This is especially noticeable during periods of active growth and teething: a puppy’s appearance in this time can literally change from day to day.
When corgi ears usually go up
In many Pembroke and Cardigan puppies the ears start to come up steadily in the first months of life, but there is no exact date by which they are “obliged” to be standing.
A floppy ear in a young puppy does not yet mean that anything is wrong.
This is where it’s very helpful to ask the breeder. They know their dogs’ lines and can often assess quite well whether a particular puppy should simply be given more time, or whether it already makes sense to give the ear a little help.
Do you need to tape the ears
Not every puppy.
If the ears are gradually coming up on their own and you can see the cartilage getting stronger, it’s often enough just to keep an eye on them.

Taping is usually used as temporary mechanical support if an ear remains too soft, constantly creases, or if, due to its large size and weight, it struggles to stay upright.

It’s important to understand: tape does not “create” a pricked ear. It only holds the ear pinna in the correct position for a while, while it develops and becomes more stable.
Our experience
Things have gone differently with each of our dogs.
We picked up Eevee from the breeder with one standing ear and one floppy ear. We didn’t have to do anything — the second ear soon went up on its own.
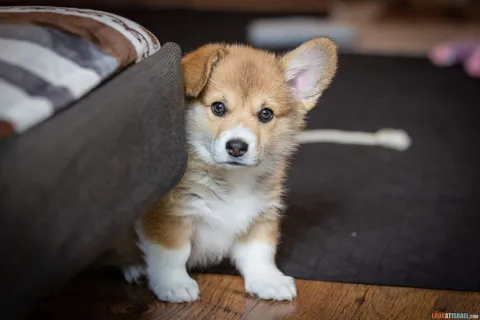
Kaya came to us with beautifully standing ears already (which, it should be noted, went up very early).

Tory and Una, however, did need some help.
For Una, a single taping was enough. She wore our homemade “crown” for about ten days, after which the ears were already holding up confidently on their own.
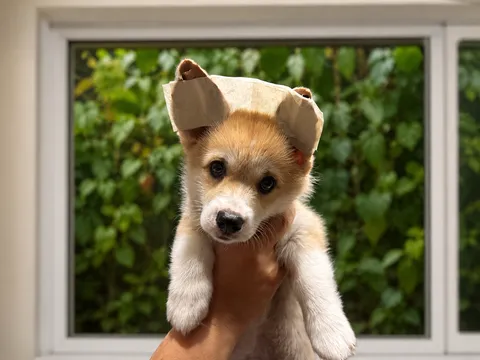
With Tory, the story was longer. She has very large and heavy ears, so one taping was not enough. We repeated it several times: for about 7–10 days, then gave the skin and ears 2–3 days’ rest and, if necessary, taped them again.
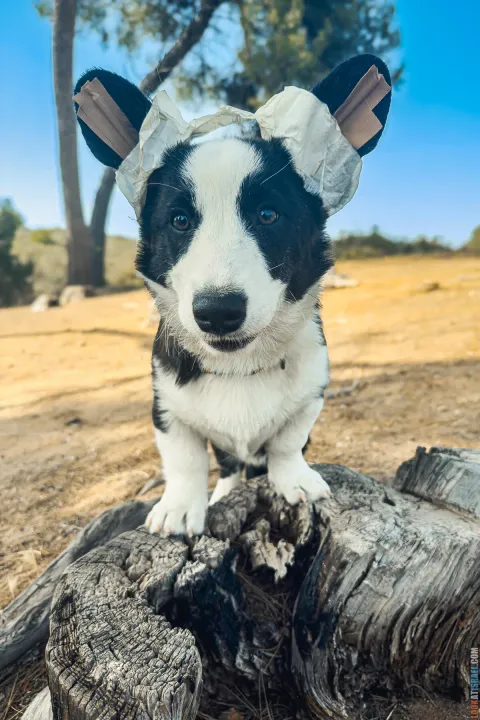
One of Kaya’s daughters had a different situation again: one ear stood perfectly on its own, and only the second one needed help.
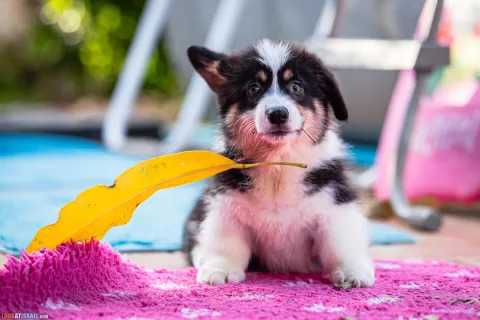
All these cases clearly show why it’s hard to set a universal rule here: you need to look at the individual puppy and the individual ears.

How to tape a corgi’s ears
There are several ways to tape ears. One of the simplest options is to support each ear with tape and, if needed, connect the ears with a bridge of tape to make a sort of “crown”.
For this, you need a suitable tape that sticks well enough but is intended for contact with the skin.
Before taping, the ear must be clean and dry.
Carefully set the ear in a natural upright position and fix it with tape so that you provide support but do not overtighten it and do not compromise blood circulation.
If you use a bridge between the ears, it’s important to maintain their natural position: the goal is not to pull the ears toward each other, but only to help them stay upright.
The puppy must be able to move their head normally and lead a normal life.
How to tape a corgi puppy’s ears: step-by-step instructions
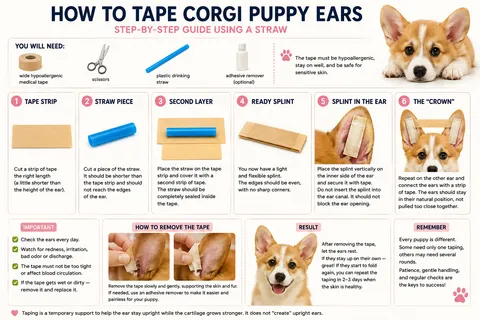
What you’ll need
- wide hypoallergenic medical tape;
- scissors;
- a regular plastic drinking straw;
- wide paper masking tape;
- a product for gentle removal of medical adhesive — preferable, but not obligatory.
Step 1. Prepare the ears
The ears must be clean and completely dry. If the inner surface is dirty, gently clean it and wait until it is fully dry.
Before taping, make sure there is no redness, irritation, unpleasant odor, or discharge.
Step 2. Set the ear in a natural position
Gently lift the ear pinna up.
Do not stretch it and do not try to change the ear’s natural shape. The goal of taping is only to help it stay upright.
Step 3. Make a light support for the ear
If the ear is large, heavy, or easily folds over, taping alone may not be enough. In this case, you can make a small internal “splint”.
Cut a piece of a regular drinking straw to the appropriate length. It should be noticeably shorter than the ear pinna and must not reach the ear canal or the edges of the ear.
Place the straw between two strips of tape so that the plastic is covered with tape on all sides and does not come into direct contact with the skin anywhere. You’ll get a light, flat support.
Place this construction vertically on the inside of the ear pinna and fix it with tape. It helps the ear stay upright and not fold under its own weight.
Do not insert the straw into the ear canal and do not position the support too deep. It should support only the ear pinna.
Step 4. Repeat with the second ear
If both ears need support, tape the second one the same way.
If one ear is already standing firmly on its own, there is no need to tape it just “for symmetry”.
After that, if both ears need support, you can connect them with a strip of tape into a “crown”.
Step 5. Make the “crown”
If necessary, connect the taped ears with a strip of medical or paper adhesive tape.
The bridge helps keep them upright, but it must not pull the ears strongly toward the center of the head. They should remain approximately in their natural position.
This creates that funny construction that we call a “crown” at home.

Step 6. Check the ears every day
Although the taping can stay on for several days, its condition must be checked daily.
Remove it earlier if:
- the tape got wet or very dirty;
- the skin is red or irritated;
- there is an unpleasant smell or discharge;
- the ear has become painful;
- the puppy constantly tries to remove the construction or scratches the ears intensely.
Step 7. Remove the tape very gently
Do not rip the tape off in one motion.
Peel it off gradually, supporting the skin and coat. If the tape is holding very firmly, it’s better to use a medical adhesive remover than to cause pain to the puppy.
Step 8. See what you got
After removing the taping, give the ears some time.
If they stand on their own — great, there is nothing more to do.
If after some time one or both ears start drooping again, you can repeat the taping after a short break, provided the skin is completely healthy.
Important: there is no universal number of days or tapings. One puppy needs it only once; another may require several rounds. You should be guided by the condition of the particular ears, and if in doubt, it’s better to consult the breeder or a veterinarian.
What you need to watch for
You can’t just tape the ears and forget about them for a week.
Every day you should check:
- whether there is any redness or skin irritation;
- whether an unpleasant smell has appeared;
- whether the tape has gotten wet;
- whether it’s pressing too hard;
- whether the puppy keeps trying to scratch the ear;
- whether there is any discharge from the ear canal.
If the skin is irritated, the ear is painful, or there is odor or discharge, you must remove the taping and figure out the cause. If you suspect ear inflammation, you need a vet, not another layer of tape.
After removing the tape, it’s helpful to let the skin rest for 2–3 days. If the ear starts to droop again, you can repeat the support if needed.
How to remove the tape
This is also an important part of the procedure.
Do not sharply tear off well-adhered tape together with the coat. Remove it slowly and carefully, using a suitable medical adhesive remover if necessary.
If you have to trim the coat slightly for safe taping or tape removal, that is much better than injuring the skin.
Will calcium help the ears go up?
One of the most persistent pieces of advice given to owners of puppies with floppy ears is “give calcium”.
You should not independently add calcium to the diet of a normally developing puppy just for the sake of the ears.
The ear is supported by cartilage, not bone, and an excess of mineral supplements during growth is far from harmless. If the puppy is getting a complete, balanced diet, additional calcium supplements are usually unnecessary unless there is a medical indication.
The same applies to gelatin, cottage cheese, and other popular “ear-setting remedies”: you shouldn’t expect a magical effect from them. Although we have yet to meet a puppy who would turn down some plain aspic cooked without spices.
And what if the ear never goes up?
If the puppy has already grown older and one or both ears reliably remain floppy, you should discuss this with the breeder and, if necessary, show the dog to a vet — especially if the ear used to stand and then suddenly drooped, or if there are signs of inflammation.
For a pet dog, a floppy ear in itself doesn’t make them any less healthy, intelligent, or loved.
But for a purebred dog that is planned for shows and breeding, ear shape and carriage do matter, since both the Pembroke and the Cardigan standards call for pricked ears.
The main thing
There’s no need to panic if your little corgi wakes up one day with one ear up and the other down, and there’s no need to automatically reach for the tape the first day an ear decides to take a break.
Sometimes it just needs time.
And sometimes a big, heavy, or soft ear really can use a little help — done gently, without excessive tension, and with constant monitoring of the skin’s condition.
And if several corgis in one household have gone from “lop-eared puppy” to adult pricked ears in completely different ways — that’s more the rule than the exception.